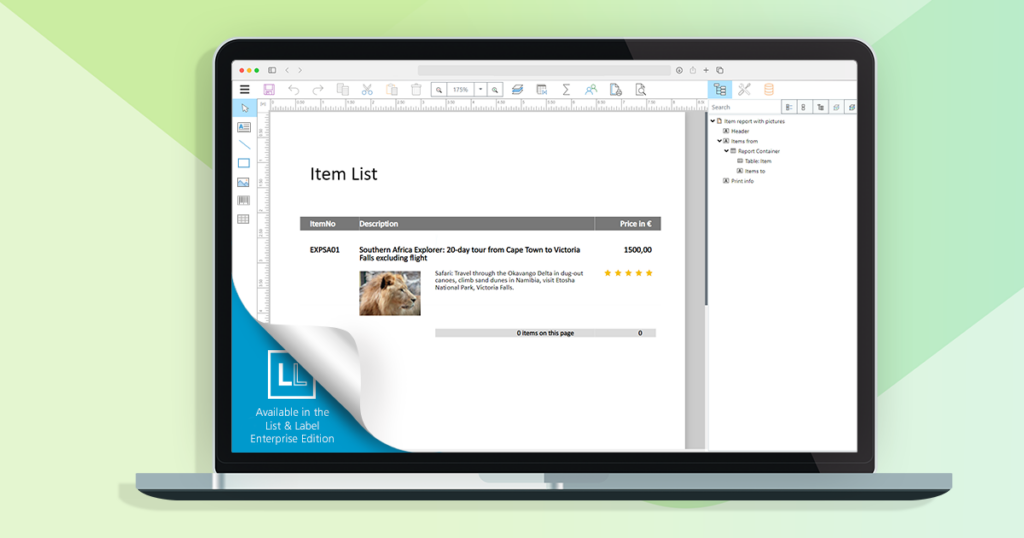
Everything you currently need to know about Web & Cloud Reporting with List & Label.

Back-end inquiries/queries
When it came to back-end inquiries, we wanted to remain as flexible as possible and be able to quickly exchange them, if necessary. Therefore we decided to strictly separate the UI code from the actual communication with the back-end. We relied on the NPM package axios, which enables a ‘Promise based HTTP (s) client’ to be implemented quickly and easily. The two things that sold the package to us: the simple editing and the simple use.
import axios, { AxiosRequestConfig, AxiosResponse } from "axios";

const options: AxiosRequestConfig = getMergedConfig(sessionConfiguration, config);
return axios.post(subUrl, data, options);
We came up with the following concept:

UI: A dispatch is created for every request that goes from the front-end to the back-end. This successfully prevents recurring code.
The UI code calls the dispatches and then checks the result:
...
//create new variable
const response = await dispatch(addNewVariableToServer());
if (addNewVariableToServer.fulfilled.match(response)) {
    newUserVariable = response.payload;
}
...
Dispatch: The dispatches handle the communication between the UI, store and the actual back-end Axios queries. Any error messages or failed queries are also dealt with right there. Below is an example of the dispatch to add a new sum variable:
export const addNewVariableToServer = createAsyncThunk<
    // Return type of the payload creator
    SumVariable,
    // arguments to the payload creator
    void,
    // Types for ThunkAPI
    ThunkAPITypes
>('/addNewVariableToServer', async (_parameter, thunkApi) => {
    const dispatch = thunkApi.dispatch;
    const response = await dispatch(addDefaultSumVariable_Service());
    if (addDefaultSumVariable_Service.fulfilled.match(response)) {
        dispatch(resetSumVariablesFetchError());
        return response.payload;
    }
    else {
        dispatch(setSumVariablesFetchError(EnumSumVariablesErrorType.OnAddNewVariable));
        return thunkApi.rejectWithValue({ errorMessage: response.payload?.errorMessage ?? '' });
    }
});
In line 10 of the code block above, the back-end call is started, and a promise is returned.
Axios gives us the option in line 11 to wait for the result of this call. Then the “fulfilled” method is used to check whether a valid status code, that does not represent an error, is returned as a result. If the status code is valid, the error memory is reset in line 13. The actual result is returned, in this case it’s a new sum variable. If the back-end query is invalid, the error memory is set in line 16 ff. The error message from the back-end is returned, if necessary.
Service: The services are only responsible for communicating with the back-end, in order to return invalid or failed queries (if necessary). The following shows the code for the back-end call to add a new sum variable:
export const addDefaultSumVariable_Service = createAsyncThunk<
    // Return type of the payload creator
    SumVariable,
    // arguments to the payload creator
    void,
    // Types for ThunkAPI
    ThunkAPITypes
>('/api/addDefaultSumVariable_Service', async (_parameter, thunkApi) => {
    await thunkApi.dispatch(incrementRequestCounter());
    const sessionConfiguration: SessionConfigurations = thunkApi.getState().config.SessionConfiguration;

    try {
        const response = await getRequest('AddDefaultSumVariable'
            , sessionConfiguration);
        await thunkApi.dispatch(decrementRequestCounter());
        if (response.status !== 200) {
            // Return the known error for future handling
            return thunkApi.rejectWithValue((await response.data) as ResponseError);
        }
        return response.data as SumVariable;
    } catch (error: unknown) {
        await thunkApi.dispatch(decrementRequestCounter());
        thunkApi.dispatch(handleFailedRequest());
        return thunkApi.rejectWithValue(generateRequestError(error));
    }
});
A GET request (‘getRequest’) is called in to the server and checked whether it is a valid result. If there is an error, the result is rejected and the error is returned.
In order to implement the various calls on the back-end, such as GET or POST requests, uniform methods were written:
export const getRequest = (subUrl: string,
    sessionConfiguration: SessionConfigurations,
    config?: AxiosRequestConfig): Promise<AxiosResponse> => {

    if (sessionConfiguration.InstanceID === '') {
        return new Promise<AxiosResponse>(() => {
            return {
                data: '',
                status: 403,
                statusText: 'No InstanceID',
                headers: {},
                config: {}
            };
        });
    }

    const options: AxiosRequestConfig = getMergedConfig(sessionConfiguration, config);
    return axios.get(subUrl, options);
};
export const postRequest = (subUrl: string,
    sessionConfiguration: SessionConfigurations,
    data?: unknown,
    config?: AxiosRequestConfig): Promise<AxiosResponse> => {

    if (sessionConfiguration.InstanceID === '') {
        return new Promise<AxiosResponse>(() => {
            return {
                data: '',
                status: 403,
                statusText: 'No InstanceID',
                headers: {},
                config: {}
            };
        });
    }

    const options: AxiosRequestConfig = getMergedConfig(sessionConfiguration, config);
    return axios.post(subUrl, data, options);
};
These uniform methods are used everywhere in the source code, in order to grant an easy and quick exchange, if necessary. This prevents hours of refactoring.
Hotkeys
In order to provide the quick and easy editing of lists, we wanted to enable hotkeys such as CTRL + C, CTRL + V or the addition of a new object. For this, we used the NPM package react-hotkeys-hook.
The biggest challenge about this was the support of various browsers. Unfortunately, there is no uniform use of shortcuts under Chrome / Firefox / Edge. That’s why we first had to make a list of shortcuts, used by various browsers. After that, we determined which shortcuts can be used.
The NPM package allows the addition of these shortcuts in a quick and easy way. As an example, here are the shortcut definitions for adding a new object:
// Collision with chrome shortcut
   // Ctrl + T - Create TextBox
   useHotkeys('t', () => {
       SetAllowDrawing(true);
       SetNewObjectType(EnumObjectType.Text);
   }, hotkeyProviderOptions, []);

   // Ctrl + L - Create ShapeLine
   useHotkeys('l', () => {
       SetAllowDrawing(true);
       SetNewObjectType(EnumObjectType.Line);
   }, hotkeyProviderOptions, []);

   // Collision with chrome shortcut
   // Ctrl + R - Create ShapeRectangle
   useHotkeys('r', () => {
       SetAllowDrawing(true);
       SetNewObjectType(EnumObjectType.Rectangle);
   }, hotkeyProviderOptions, []);
A new shortcut is created using the “useHotkeys” hook. The first parameter is the “key” that triggers the shortcut. The “keys” “STRG”, “ALT” or “SHIFT” can also be utilized. As soon as a shortcut is triggered, it triggers the function that is specified as the second parameter.
The third parameter is options, which can be set per hook. These allow you to filter certain events. This is required, for example, in order to not trigger the shortcut in an input field. The options can also be used to prevent pre-assigned hotkeys from being removed. The last parameter is a so-called dependency array: if your callback actions depend on an unstable value, or if it changes over time, you should add this value to your deps array.
Further information can be found in the documentation of the package.
Formula Editor
When we designed the formula editor, we went along the existing desktop formula wizard. To implement the editor’s functionality, we opted for the popular Monaco editor, which is used in Visual Studio Code.
We chose the NPM package @monaco-editor/react.
The NPM package makes the implementation of a complete “formula editor” extremely easy. The following code equips an application with the basic functionality.
import React from "react";
import ReactDOM from "react-dom";

import Editor from "@monaco-editor/react";

function App() {
  return (
   <Editor
     height="90vh"
     defaultLanguage="javascript"
     defaultValue="// some comment"
   />
  );
}

const rootElement = document.getElementById("root");
ReactDOM.render(<App />, rootElement);
Naturally, you can add your own keywords and syntax constructs. In order to do this, you need to proceed as follows. First, you add a new language to the Monaco editor:
const handleLanguageRegistration = (monacoInstance: Monaco) => {
    // register language
    monacoInstance.languages.register({ id: 'MyLanguage' });
    // add functions
    registerSuggestionProvider(monacoInstance);
}
Then, you add your own functions:
const registerSuggestionProvider = (monacoInstance: Monaco) => {
        //add add True and False to "methods list"
        const tempFormulaMethodsList = [...FormulaMethodsList];
        //no need for FunctionInfo. it is only for recommendation and it is not in the Functionslist
        const boolTempMethod: FunctionInfo = { Groups: [], ParameterRestrictions: [0, 0], ReturnType: LlExprType.Bool, SyntaxHint: { $type: "", Item1: "", Item2: "", Item3: "", Item4: "" } };
        tempFormulaMethodsList.push({ FunctionName: "True", FunctionInfo: boolTempMethod, ParametersInfo: [] });
        tempFormulaMethodsList.push({ FunctionName: "False", FunctionInfo: boolTempMethod, ParametersInfo: [] });
        const functionsList = tempFormulaMethodsList.map(formula => {
            return formula.FunctionName;
        });
        if (SumVariablesList && UserVariablesList && VariablesFieldsList !== undefined) {
            const variablesList = extractVariablesFromStore(VariablesFieldsList, SumVariablesList, UserVariablesList, ReportParametersList, HideFields);
            // Register a tokens provider for the language
            monacoInstance.languages.setMonarchTokensProvider('MyLanguage', languageDef(functionsList, variablesList) as monacoEditor.languages.IMonarchLanguage);
            // Set the editing configuration for the language
            monacoInstance.languages.setLanguageConfiguration('MyLanguage', configuration as monacoEditor.languages.LanguageConfiguration);
            // //Register a completion item provider for the language
            const provider = registerCompletionitemProvider(monacoInstance, tempFormulaMethodsList, variablesList);
            completionItemProviderRef.current = provider;
        }
    };
You set the language definition, using the “setLanguageConfiguration” function. This function defines line or block comments, brackets and “auto-closing” pairs. You can e.g. add that when typing “(” (opening bracket), a “)” (closing bracket) is automatically added.
You use the “setMonarchTokensProvider” function to define all functions and keywords via the Monarch implementation. This means that the syntax definition with current variables and methods is provided for the current language. In the language definition, all functions are stored as “Functions” (you can also assing a certain color in the “defineTheme” method) and all variables are saved as “Typewords”. Spaces, delimiters, operators, numbers and comments are also defined here.
Then you use the “registerCompletionitemProvider” function to create the proposal list. The suggestion list is filled with all variables and functions (the functions are filled out in the form of a snippet, in which a number of parameters is specified, and when entering in the editor, you can switch between the parameters by pressing “Tab”).
Further information on this topic can be found here.
This is the end of our “making of” series, using the Web Report Designer. We hope, our insights and experiences may help you with your own projects. If you’d like to try the new Web Report Designer, just have a look at the online demo and see what we were talking about here. You can also download the free and fully functional List & Label Trial at any time.


